There’s something deeply satisfying about stepping into a spotless shower. But if you’ve ever stared at dingy grout, soapy film coating your tiles, or that mysterious pink mildew creeping into the corners — you know how quickly a shower can go from fresh to frustrating.
The good news? You don’t need expensive products or professional help to fix it.
In this guide, you’ll learn exactly how to clean shower tiles — from a quick weekly routine to a deep-clean reset — using tools you likely already own. Whether you’re dealing with soap scum, hard water stains, or stubborn mold, there’s a solution here that works.
Why Shower Tiles Get Dirty So Fast
Before diving into the how, it helps to understand the why.
Shower tiles are constantly exposed to water, soap residue, body oils, and humidity — making them one of the fastest surfaces in any bathroom to look dirty. Every time you shower, a thin film of soap and minerals is left behind. Over time, that film hardens into soap scum.
Add moisture and warmth to the equation, and you’ve created the ideal environment for mold and mildew to grow — especially in porous grout lines.
Here’s what’s actually building up on your tiles:
- Soap scum — A chalky residue formed when soap mixes with hard water minerals
- Hard water deposits — White or grey mineral buildup from calcium and magnesium in tap water
- Mold and mildew — Fungi that thrive in warm, damp spaces, often appearing as black or pink stains
- Body oils and shampoo residue — Subtle but cumulative buildup that dulls tile surfaces
Without regular care, these issues become harder to remove and can permanently stain grout.
What You’ll Need to Clean Shower Tiles
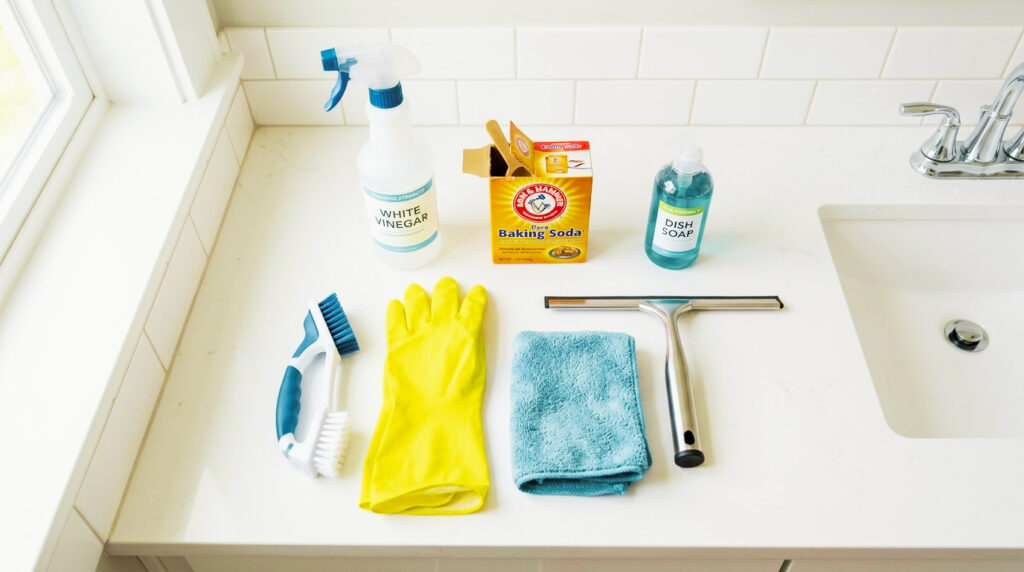
You don’t need a cabinet full of specialty products. For most showers, you’ll need:
| Tool / Product | Purpose |
|---|---|
| White distilled vinegar | Dissolves soap scum and hard water stains |
| Baking soda | Gentle abrasive for scrubbing grout |
| Dish soap (liquid) | Cuts through grease and film |
| Rubber gloves | Protects your hands |
| Nylon scrub brush | Scrubs tiles without scratching |
| Old toothbrush or grout brush | Gets into narrow grout lines |
| Microfiber cloths | Buffs tiles streak-free |
| Squeegee | Removes water after cleaning |
| Spray bottle | For DIY cleaning solutions |
Pro Tip: Avoid steel wool, metal scrubbers, or coarse sponges — they can scratch tile surfaces and degrade grout over time. Always use soft-bristled or nylon tools.
How to Clean Shower Tiles: Step-by-Step
This is the core method — effective for most standard ceramic or porcelain tiles.
Step 1: Clear and Pre-Rinse
Remove all bottles, soap dishes, and accessories from the shower. Then rinse the entire surface with warm water to loosen surface dirt and soften soap residue. This simple step makes every cleaning method more effective.
Step 2: Make Your Cleaning Solution
For regular cleaning, mix one cup of distilled white vinegar with a few drops of liquid dish soap and a gallon of warm water. Pour it into a spray bottle.
For tougher buildup, use a baking soda paste: mix three parts baking soda to one part water until it reaches a thick, spreadable consistency.
Step 3: Apply and Let It Sit
Spray your vinegar solution evenly across all tile surfaces, working top to bottom. Let it sit for 10–15 minutes — this dwell time is crucial. The acid in vinegar needs time to break down soap scum and mineral deposits before you scrub.
If using baking soda paste, apply it directly to grout lines and tile surfaces with a gloved hand or brush.
Step 4: Scrub the Tiles
Use a nylon brush to scrub the tile in small circular motions, working from the top of the shower downward. Pay extra attention to corners, ledges, and areas near the drain where buildup collects fastest.
For grout lines specifically, switch to your grout brush or old toothbrush and scrub with firm, short strokes.
Step 5: Rinse Thoroughly
Rinse the entire shower with warm or hot water, making sure to flush away all cleaning solution residue. Leftover vinegar or baking soda can attract new dirt if not fully removed.
Step 6: Dry the Surface
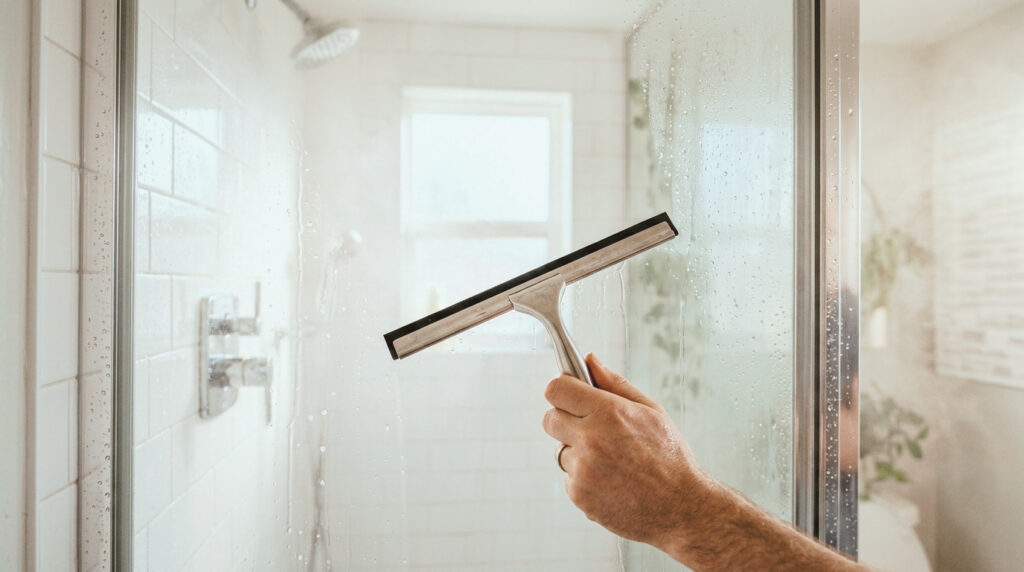
Dry the tiles with a microfiber cloth or bath towel and finish with a squeegee on the walls. This prevents water spots from forming as tiles dry and discourages mold from returning.
How to Deep Clean Shower Grout
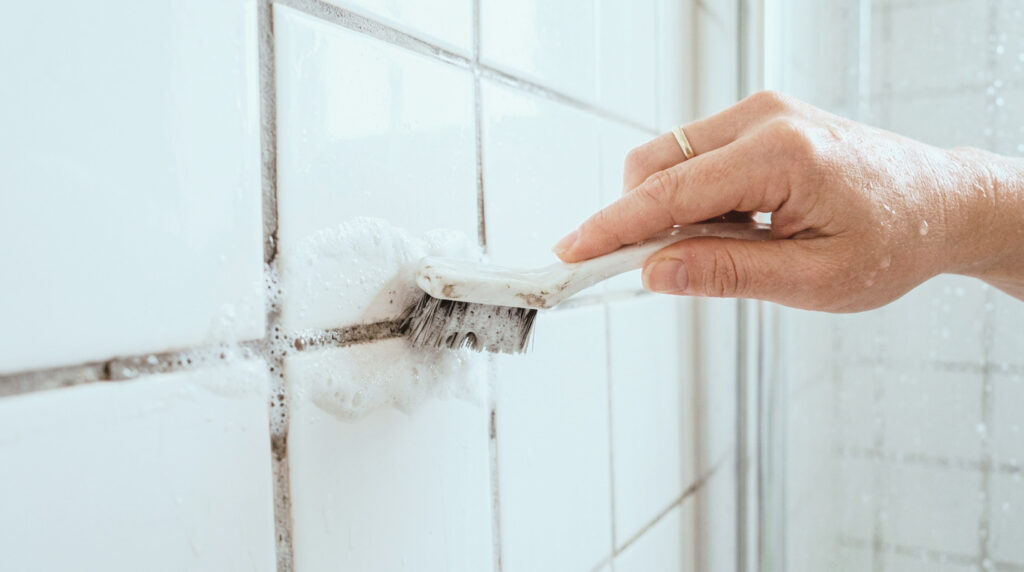
Grout is porous, which means it absorbs water, soap, and minerals like a sponge. Shower grout attracts dirt, minerals, and soap scum because it’s porous, creating an environment where bacteria, mold, and mildew can grow.
Here’s how to deep clean it properly:
Baking Soda + Hydrogen Peroxide Method
This is one of the most effective DIY methods for discolored or dirty grout.
- Mix 3 parts baking soda with 1 part water to make a paste
- Add a splash of hydrogen peroxide and stir to combine
- Apply the paste to grout lines with a brush or gloved hand
- Let it sit for 15–30 minutes
- Scrub with a grout brush in short, firm strokes
- Rinse thoroughly with warm water
Hydrogen peroxide-based cleaners are particularly effective because they whiten surfaces without harsh fumes — making this a safer option than bleach for routine use.
For Stubborn Mold in Grout
When mold has taken hold, you’ll need something stronger. A bleach solution — 1 part bleach to 10 parts water — works effectively for tough mold in grout.
Important safety notes:
- Wear rubber gloves and work in a well-ventilated area
- Never mix bleach with vinegar — this creates toxic chlorine gas
- Rinse all previous cleaners off before applying bleach
Apply, let sit for one hour, scrub, and rinse completely.
How to Remove Hard Water Stains from Shower Tiles
Hard water stains look like white, chalky, or grey mineral deposits — particularly common around showerheads, faucets, and on glass tiles.
The best solution: undiluted white vinegar.
- Soak a microfiber cloth in white vinegar
- Press it directly against the stained area and hold for 5–10 minutes (or tape it in place)
- Scrub with a soft brush
- Rinse with warm water and dry
For very heavy buildup, a paste of baking soda and vinegar applied directly to the deposit — allowed to fizz and sit for 15 minutes — can dissolve even stubborn calcium deposits.
Expert Tip: Commercial products like CLR (Calcium, Lime & Rust Remover) are specifically formulated for mineral deposits and can be very effective on glazed ceramic and porcelain tiles. Always check the product label for tile compatibility before use.
Also Read: How Long Does It Take for Bathroom Caulk to Dry?
Cleaning Shower Tiles by Tile Type
Not all tiles are the same. Using the wrong cleaner can damage delicate surfaces. Here’s a quick guide:
Ceramic and Porcelain Tiles
The most common type — and the most forgiving. These can handle vinegar, baking soda, mild bleach solutions, and most commercial cleaners. Many types of tile are durable enough for steam cleaning as well.
Natural Stone Tiles (Marble, Travertine, Slate)
This is where most people go wrong. Never use vinegar or citrus-based cleaners on natural stone — the acid etches and permanently dulls the surface. Use only pH-neutral cleaners specifically labeled safe for stone. Avoid harsh chemical cleaners on natural stone tiles, as they can erode the finish and degrade grout over time.
Glass Tiles
Use a glass-specific cleaner or a mild dish soap solution. Avoid abrasive scrubbers which will scratch the surface.
| Tile Type | Safe Cleaners | Avoid |
|---|---|---|
| Ceramic / Porcelain | Vinegar, baking soda, bleach (diluted), steam | Steel wool, abrasives |
| Natural Stone | pH-neutral stone cleaner only | Vinegar, citrus, bleach |
| Glass | Dish soap, glass cleaner | Abrasive pads, bleach |
How to Keep Shower Tiles Clean Longer
Cleaning is easier when you don’t let buildup accumulate. Consistency is key. Here’s a simple maintenance schedule:
Daily (2 minutes)
- Use a squeegee after every shower to remove water from tile walls and glass
- Spray a daily shower spray (like Method Daily Shower Spray) and leave — no rinsing needed
Weekly (10–15 minutes)
- Wipe down tiles with a pH-neutral cleaner or diluted vinegar solution
- Scrub grout lines with a soft brush
Monthly (30 minutes)
- Deep-clean grout with baking soda paste or hydrogen peroxide
- Inspect caulking for cracks or mold growth
Annually
- Reapply a grout sealer to protect porous grout from stains and moisture
- Replace caulking around the shower base if cracked or discolored
- Also Read: How Long Does It Take for Bathroom Caulk to Dry?
Expert Tip: Applying a grout sealer every one to two years dramatically reduces how much dirt and moisture the grout absorbs — making your weekly cleanings far faster.
These insights come from professional cleaning services and tile specialists:
Expert Tips Section
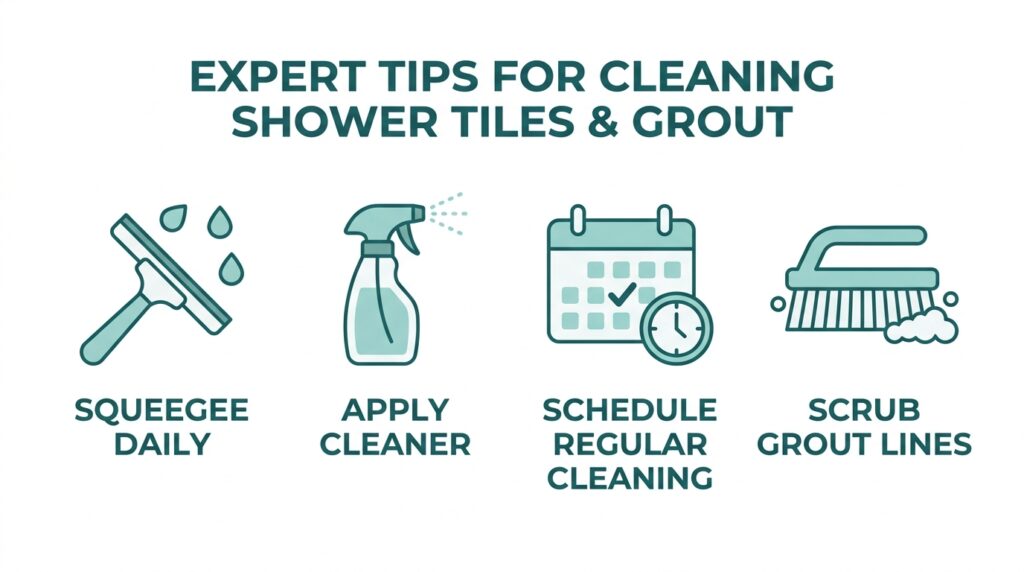
1. Work top-to-bottom, always. Cleaning from the top of the shower downward ensures loosened grime doesn’t re-settle on areas you’ve already cleaned.
2. Dwell time matters more than scrubbing force. Letting your cleaning solution sit for 10–15 minutes does the chemical work for you. You’ll use less physical effort and get better results.
3. Don’t skip drying. Drying is just as important as cleaning. Moisture left behind after cleaning encourages future mold growth and water spots.
4. Ventilate during and after cleaning. Run the bathroom fan for about 20 minutes after cleaning or open a window to remove humidity. Lower humidity = slower mold growth.
5. Consider a steam cleaner for deep cleaning. Steam cleaning dissolves soap scum and kills 99.9% of bacteria on hard surfaces — without any chemicals. It’s one of the most efficient methods for a full deep-clean, especially for grout.
Pros and Cons of the Most Popular Cleaning Methods
| Method | Pros | Cons |
|---|---|---|
| White Vinegar | Natural, affordable, effective on scum and stains | Not safe for natural stone; strong smell |
| Baking Soda Paste | Gentle abrasive, non-toxic, brightens grout | Requires more scrubbing effort |
| Bleach Solution | Kills mold effectively, whitens grout | Harsh fumes; can damage some tiles if overused |
| Hydrogen Peroxide | Whitens without harsh fumes, antibacterial | Slower-acting; less effective on mineral stains |
| Steam Cleaner | Chemical-free, kills bacteria, great for grout | Requires equipment purchase |
| Commercial Cleaners | Convenient, fast-acting, various formulations | Can be expensive; check tile compatibility |
FAQs: How to Clean Shower Tiles
1. What is the best homemade cleaner for shower tiles?
The most effective DIY cleaner is a mix of equal parts distilled white vinegar and warm water with a few drops of dish soap. This combination cuts through soap scum, hard water deposits, and surface grime without damaging standard ceramic or porcelain tiles. Spray it on, let it sit for 10–15 minutes, scrub, and rinse.
2. How do I clean black mold off shower grout?
For black mold on grout, use a diluted bleach solution (1 part bleach to 10 parts water). Apply it, let it sit for up to an hour, then scrub with a grout brush and rinse thoroughly. Always wear gloves, ventilate the space, and never mix bleach with vinegar as this creates toxic chlorine gas.
3. How often should I clean my shower tiles?
Clean shower tiles at least once a week using a gentle cleanser and a soft-bristled brush. Daily squeegeeing after each shower reduces buildup dramatically, making weekly cleaning faster. A deeper clean — focusing on grout — should be done monthly.
4. Can I use vinegar on all shower tile types?
No. White vinegar is safe for ceramic, porcelain, and most glazed tiles — but it should never be used on natural stone surfaces like marble, travertine, or limestone. The acidity etches and permanently damages the stone surface. Always use a pH-neutral cleaner on natural stone.
5. How do I remove hard water stains from shower tiles?
Hard water stains respond best to the acetic acid in white vinegar. Soak a cloth in undiluted vinegar, press it against the stain for 5–10 minutes, then scrub and rinse. For very stubborn mineral deposits, a paste of baking soda and vinegar applied directly to the area and left to fizz for 15 minutes can break down heavy calcium buildup.
Conclusion
Cleaning shower tiles doesn’t have to be a chore you dread. With the right method, the right tools, and a simple routine, you can keep your shower looking fresh with minimal effort every week.
Start with the basics: a vinegar spray, a good scrub brush, and a squeegee after every shower. Add a baking soda deep-clean once a month, seal your grout once a year, and you’ll never face that overwhelming grime buildup again.
Your shower sees you at your cleanest — it deserves the same treatment.
Ready to get started? Pick up a grout brush and a bottle of white vinegar — you probably already have everything you need. Start with the weekly method above and work toward the full deep-clean when you’re ready.
Have a tile cleaning tip that works great? Drop it in the comments below — we’d love to hear what’s worked for you.