You want the acrylics off, but don’t want to soak in acetone for 40 minutes and risk damaging your nails.
Good news: you don’t have to.
There are several ways to remove acrylic nails without acetone. It is easier on your nails than the traditional soak method.
This guide covers five methods that actually work, what you’ll need for each, and exactly how to do them step by step.
Quick Answer: The safest acetone-free removal methods are warm soapy water soaking, acetone-free nail polish remover, cuticle oil softening, dental floss (for already-lifting nails), and filing down. Each method takes 20–40 minutes and requires patience — but none will destroy your nails if done correctly..
Why Skip Acetone in the First Place?
Acetone works fast. It usually takes 20–30 minutes, but it strips natural oils from your nail plate and surrounding skin. If you remove acrylics regularly, repeated acetone exposure adds up.
Acetone-free methods take longer but are gentler. Your nails and cuticles will stay healthier.
That said, if your acrylics are very thick, very old, or were applied with strong professional-grade monomer, acetone may genuinely be your best option. Know your nails before you start.
Things You Need To Get Acrylic Nails Off Without Acetone
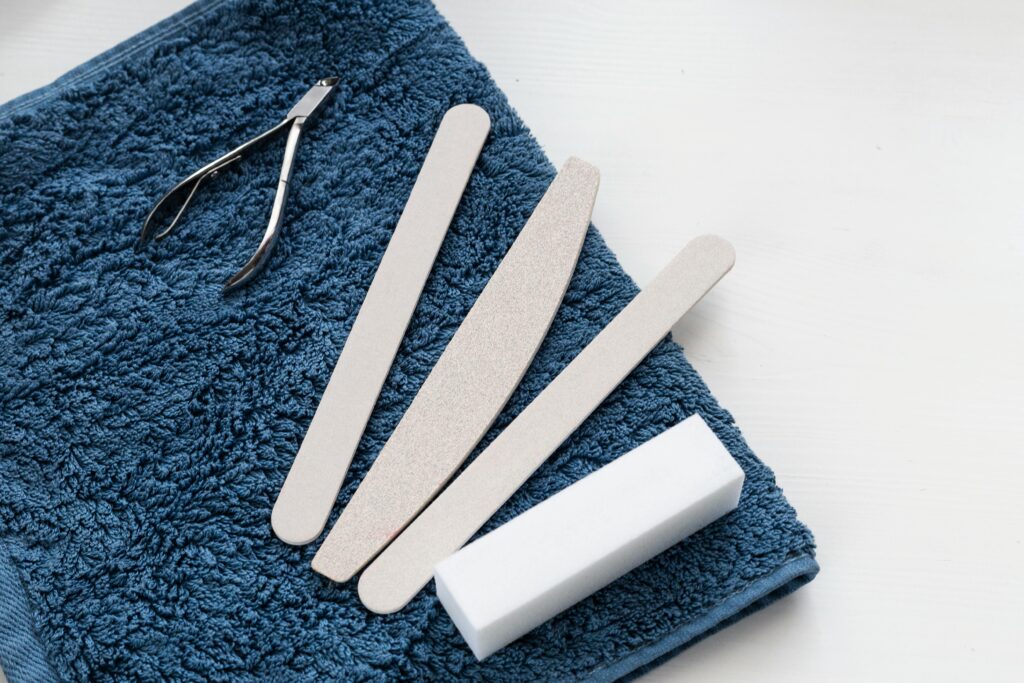
Regardless of which method you choose, gather these first:
- Nail clippers — to cut acrylics as short as possible before starting
- Coarse nail file (180 grit) — to file off the top coat and break the surface seal
- Fine buffer — for smoothing after removal
- Cuticle oil or coconut oil — for aftercare
- Orangewood cuticle stick — for gently pushing off loosened acrylic
- Bowl of warm water — for most methods
Ways to Get Acrylic Nails Off Without Acetone
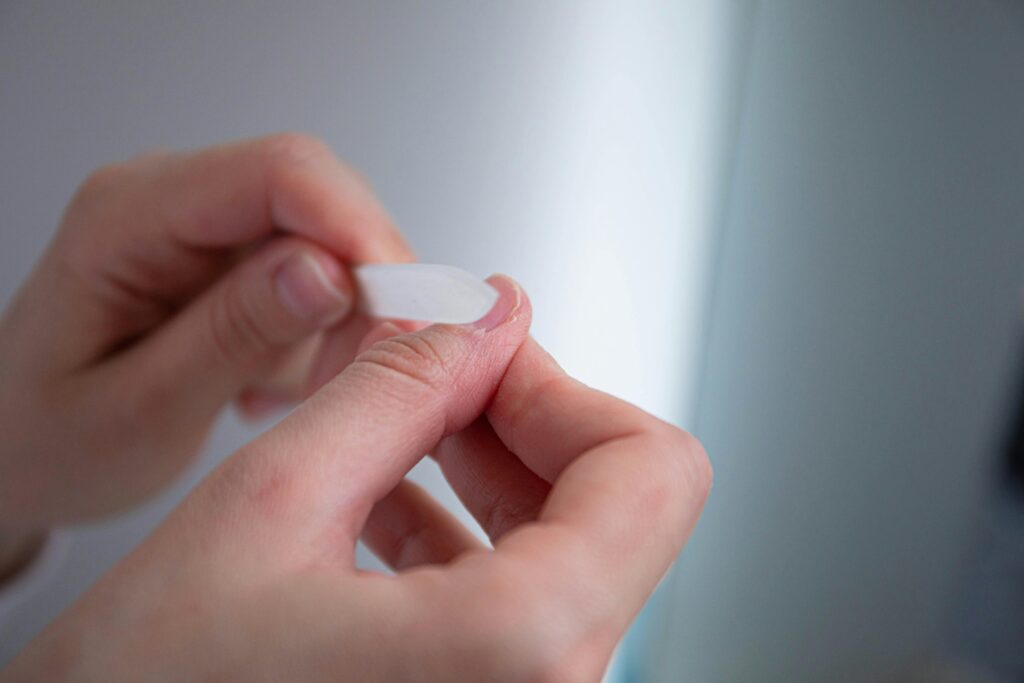
The very first step for every method is to clip your acrylics as short as you can without hurting yourself, then file off the shiny top layer using your coarse file. This breaks the seal, letting whatever liquid you’re using penetrate faster.
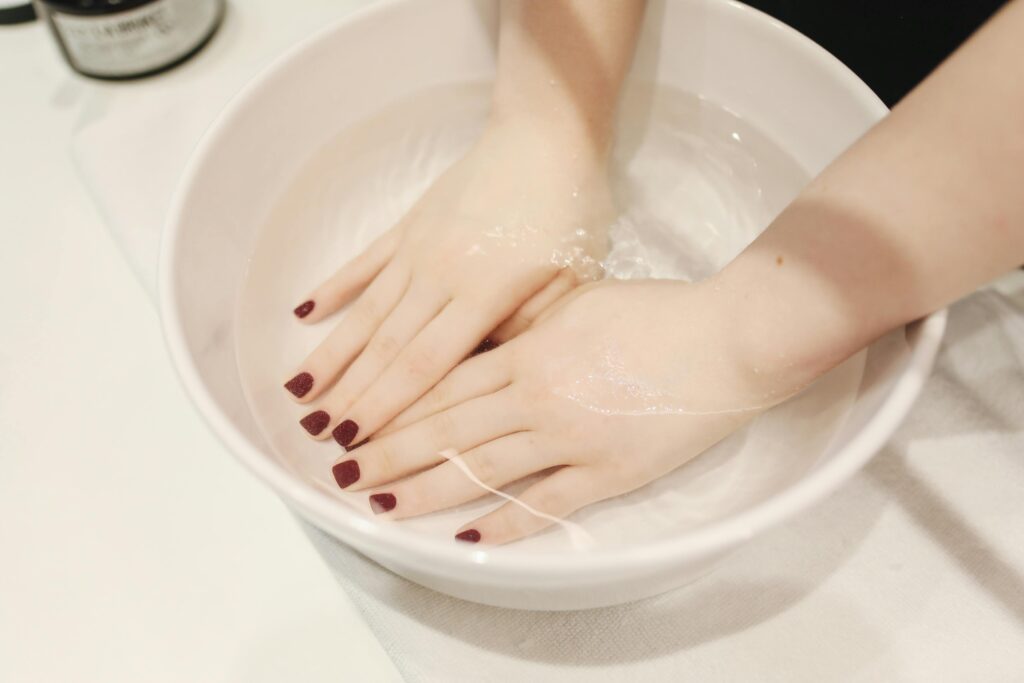
Warm Soapy Water Soak
This gentle method takes patience but minimizes damage.
What you need:
- Large bowl
- Warm water (not hot — hot water causes discomfort and can warp the acrylic unevenly)
- A few drops of hand soap or dish soap
- Orangewood stick
Step by step:
- Clip and file as described above — this step is not optional.
- Fill your bowl with warm water and add a few drops of soap.
- Submerge your fingertips fully and soak for 20–30 minutes.
- Every few minutes, gently wiggle your fingers to let water seep under any lifting edges.
- After 20 minutes, test one nail with your orangewood stick. If it doesn’t budge easily, soak for another 10 minutes.
- Once the acrylic feels loose, gently push from the base toward the tip with the stick. Never force it—if it resists, go back into the water.
- After all nails are removed, buff away any remaining residue and wash your hands.
Pro tip: Add cuticle oil to the water while soaking to nourish nails.
Acetone-Free Nail Polish Remover
Non-acetone removers use ethyl acetate or isopropyl alcohol. They dissolve acrylic, but slowly.
What you need:
- Acetone-free nail polish remover (check the label)
- Bowl deep enough to submerge fingertips
- Tweezers or orangewood stick
Step by step:
- Clip and file the top coat off all nails.
- Pour enough remover into the bowl to fully submerge your fingertips.
- Soak for 30–40 minutes. Don’t hurry this step.
- Around the 30-minute mark, check one nail. If the acrylic has softened and started to separate, use tweezers or your orangewood stick to gently lift it from the base.
- If it doesn’t come off cleanly, soak for another 10 minutes.
- Never pull or pry — if you feel resistance, the acrylic isn’t ready.
- Once removed, wash hands thoroughly and apply cuticle oil immediately.
Non-acetone remover still has solvents. Don’t soak for over 45 minutes. Moisturize after.
Cuticle Oil Softening
Cuticle oil with jojoba, vitamin E, or almond oil softens the bond. It takes longer than water but conditions nails as it works.
What you need:
- Cuticle oil (any brand works — jojoba-based is ideal)
- Cotton balls or pads
- Aluminum foil cut into small squares.
- Orangewood stick
Step by step:
- Clip and file as usual.
- Saturate a cotton ball with cuticle oil and place it directly on one nail.
- Wrap the fingertip in a small piece of aluminum foil to hold it in place and add gentle heat.
- Repeat for all nails.
- Wait 20–25 minutes.
- Remove the foil and cotton one nail at a time. Use your orangewood stick to gently push the softened acrylic from base to tip.
- If any acrylic remains, apply more oil, rewrap, and wait another 10 minutes.
- Finish by massaging the remaining oil into your cuticles and nail beds — your nails will thank you.
Dental Floss Method
This method works only if acrylic is already lifting. Do not use on firmly attached acrylics, as it can damage your nail plate.
What you need:
- Regular dental floss (unwaxed works best)
- A friend to help (makes it much easier)
- Cuticle oil
Step by step:
- Clip nails first.
- Look for an edge where the acrylic has already lifted from your natural nail — even slightly.
- Carefully slide a loop of dental floss under that lifted edge.
- Using a sawing motion, slowly work the floss from the base of the nail toward the tip.
- Go slowly. Rushing can tear your natural nail.
- If you feel pain or strong resistance, stop. The acrylic isn’t ready. Soak first using Method 1 or 2 to loosen it further.
- Once removed, apply cuticle oil immediately.
This is the riskiest DIY method. If acrylics are tight, use soaking methods instead.
Filing Down
You can file acrylics off, but it’s easy to file your nail by mistake.
What you need:
- Coarse nail file (100–180 grit) for the bulk
- Fine buffer for the final thin layer
- Good lighting
Step by step:
- Clip nails as short as possible.
- Use the coarse file on the top surface of the acrylic, filing in one direction (not back and forth — this causes splitting).
- File until the acrylic is very thin — you’ll notice the color and texture start to change as you get close to the natural nail.
- Switch to your fine buffer for the last thin layer. Never use a coarse file this close to your natural nail.
- Stop the moment you feel warmth or see a pinkish hue — that’s your natural nail.
- Wash your hands and apply cuticle oil.
Key rule: If you’re unsure whether you’re filing acrylic or natural nail, stop and switch to a gentler method. Over-filing the natural nail is painful and takes weeks to recover from.
Signs You Should Just Go to a Salon
These DIY methods work for most people. But in certain situations, professional removal is genuinely the smarter choice:
- Your acrylics are very thick from multiple fills.
- You notice any greenish or yellowish discoloration under your nails (sign of infection — see a professional immediately)
- Your nails are painful or tender.
- You’ve tried soaking for 45+ minutes, and nothing is loosening.
- You have a damaged or broken nail underneath.
A salon removal costs about $10–15 and takes 20 minutes. For tough sets, it’s worth it.
Nail Care After Removal — Don’t Skip This
However, if you remove your acrylics without acetone, your natural nails need attention immediately afterward. Acrylic removal, even the gentle kind, temporarily weakens the nail plate.
Do this right after removal:
- Apply cuticle oil immediately and massage it in for 2 minutes.
- Use a nail strengthener—look for formulas containing keratin or calcium.
- Moisturize your hands — the skin around your nails takes stress too.
- Keep nails short the first week. Weak nails break easily.
- Avoid harsh chemicals (cleaning products, hand sanitizer) for at least 48 hours.
Give your nails a break for 1–2 weeks to recover before your next set.
Comparison: Which Method Is Right for You?
| Warm soapy water | 30–40 min | Beginners, sensitive skin | Very low |
| Acetone-free remover | 30–40 min | Faster than water | Low |
| Cuticle oil | 20–30 min | Nourishing + removing | Very low |
| Dental floss | 5–10 min/nail | Already-lifting nails only | Medium |
| Filing down | 20–30 min | No products available | Medium–High |
Final Words
Removing acrylics without acetone takes patience but leaves nails healthier.
Start with warm, soapy water or acetone-free remover. Use dental floss only if acrylics are lifting. Never force—be gentle and slow with removal.
Your natural nails are worth the extra 10 minutes.
Frequently Asked Questions
Can I remove acrylic nails at home without acetone?
Yes. The warm soapy water soak and acetone-free remover methods are both safe for home use. They take 30–40 minutes but are significantly gentler on your natural nails and skin than acetone.
What is the safest way to remove acrylic nails?
The warm soapy water soak or cuticle oil method. Both are gentle, require no harsh chemicals, and nourish your nails.
Will removing acrylics without acetone damage my nails?
It depends on the technique. Gentle soaking methods rarely cause damage. Filing too aggressively or forcing acrylics off before they’re loose is what causes damage.
Can I use regular nail polish remover to remove acrylics?
Only if it’s acetone-free. Check the label. If it contains acetone, it will work faster but will dry out your nails significantly.
What if the acrylic won’t come off after soaking?
Soak for longer. Add another 10–15 minutes in warm water or remover. Never force an acrylic off with a metal tool. If after 45–60 minutes it still won’t budge, visit a salon.